Connecting AI to the physical world with a 3D printer
I bought a 3D printer quite a while ago, but I had never made much use of it. I occasionally printed models for custom keyboards, but rarely designed anything from scratch. Making the models was simply too much work.
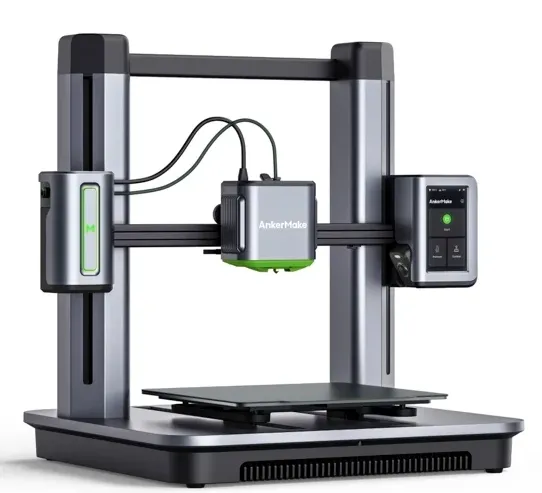
Anker M5. By the time I got around to using it, Anker had pulled out of the 3D printer business.
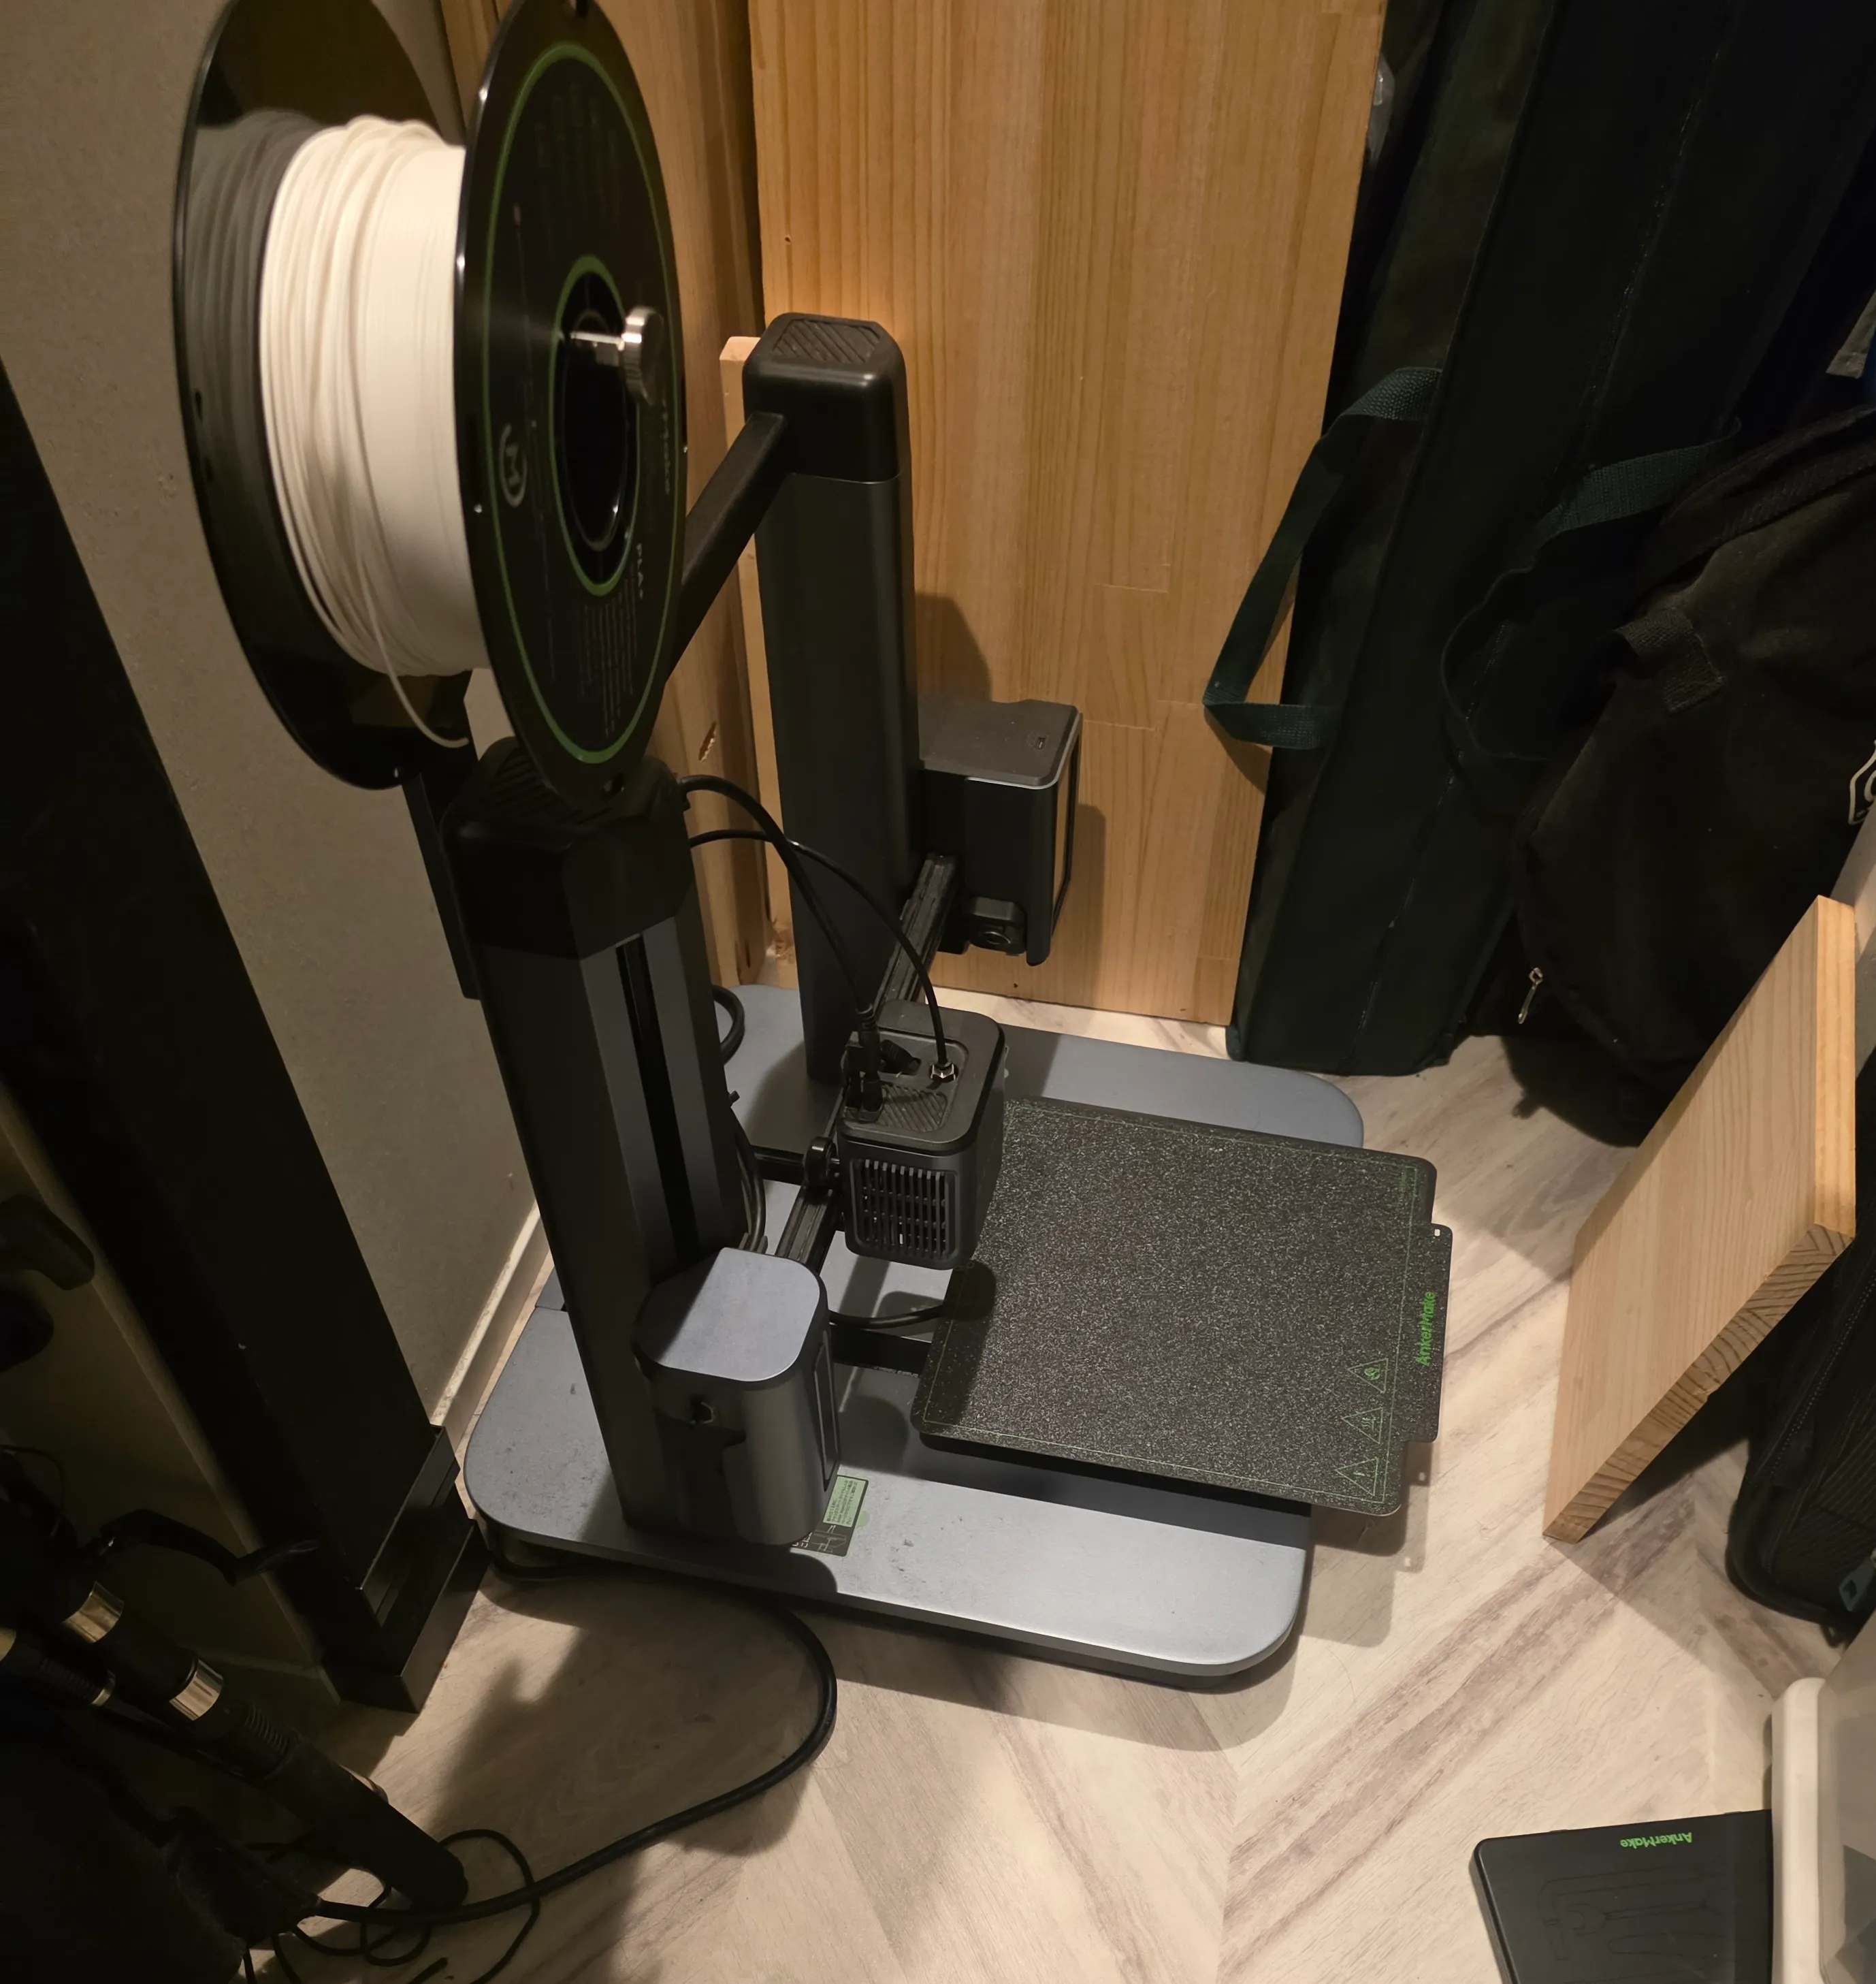
The printer at home. I never found a good place for it, so it sits directly on the floor of a storage room.
One of the main reasons to own a 3D printer is to make custom objects that make everyday life a little more convenient. A dollar store or hardware store will cover most needs, but a 3D printer can make something that fits perfectly even when the obvious response is, “Who else would ever want that?”
Printing an object first requires a model. There are two broad ways to make one: solid modeling, which combines geometric shapes, and sculpting, which works more like shaping clay.
Useful little objects usually fall into the first category and can be designed in CAD software such as FreeCAD. Once the model is ready, I export it as STL or 3MF, run it through a slicer to generate G-code, and send that to the printer. A few hours later, the thing that existed only on my screen is a useful physical object. What a time to be alive.
The difficult part is designing the object in CAD. As an amateur, I may have a vague picture of what I want without knowing how to turn it into a concrete shape. I have no particular artistic talent either, so that fuzzy picture tends to stay fuzzy.
OpenSCAD and AI agents
Some CAD tools, including OpenSCAD, describe combinations of geometric shapes in code. I found this much easier to reason about than staring helplessly at a GUI-based CAD application.
$fn = 64;

difference() {
    cube([40, 30, 8], center = true);
    cylinder(h = 12, d = 14, center = true);
}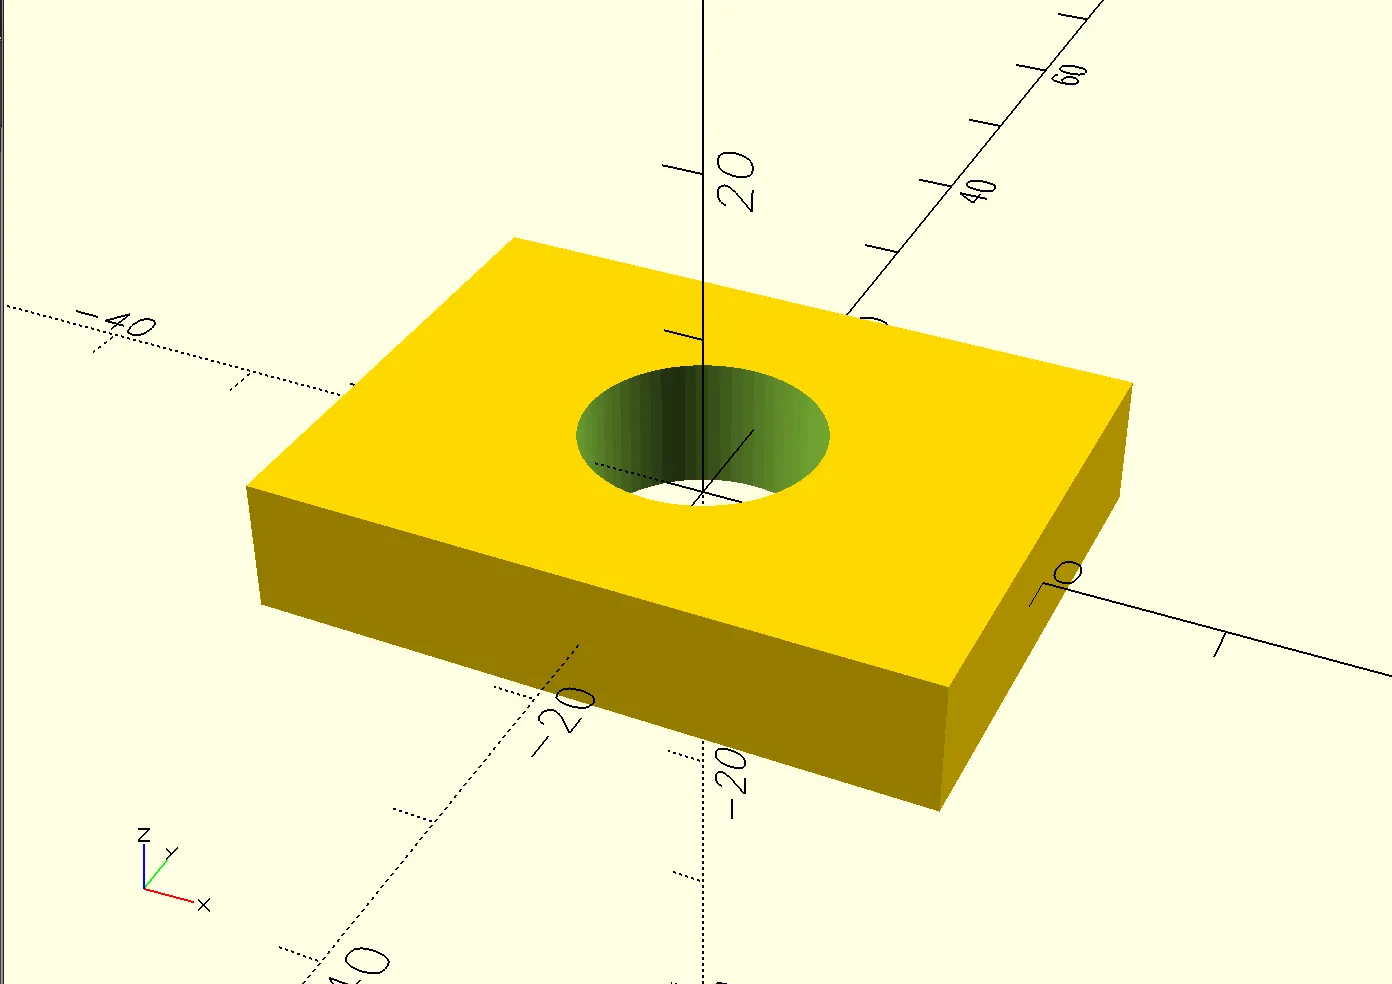
A model made by cutting a cylinder out of a rectangular solid.
OpenSCAD still does not answer the important question: what model would produce the object I actually want?
That was where things remained, and my 3D printer continued to see little use. Then, while having AI agents write code for me, I realized I could ask one to write OpenSCAD as well. Perhaps I could describe what I wanted and let the agent produce the model. The results were much better than I expected.
Mounting an audio interface under a keyboard stand
I use a Scarlett 4i4 audio interface. After a major overhaul of my workspace, I got rid of my desk entirely and no longer had a good place for the interface.
An 88-key keyboard sits on a stand next to my chair. Apart from the space needed for my legs, the area under the stand is largely unused. I had considered putting the audio interface there, but it would have to hang from the stand to stay out of the way. A product that niche simply does not exist, so the plan went nowhere.
I described the problem to an AI agent, and it came up with this model. After producing a rough version, it asked me to measure several dimensions with calipers. I sent the measurements back, and it refined the model.
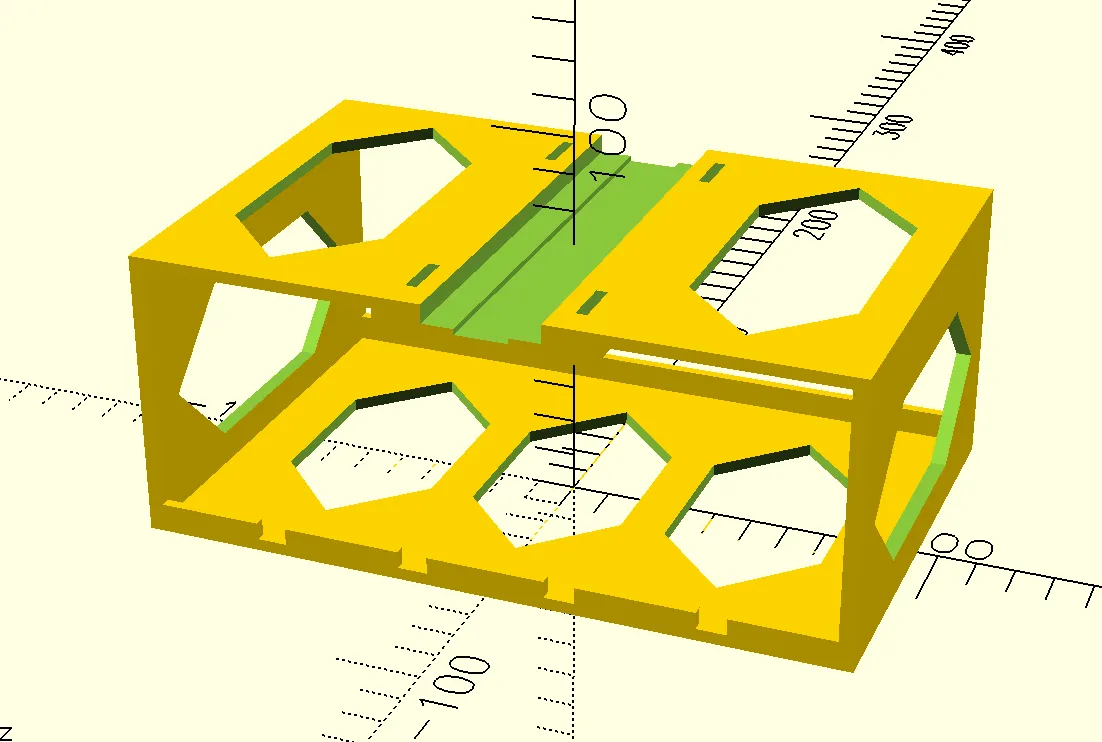
The audio interface mount. The cutouts are hexagonal to reduce steep overhangs.
The channel in the center fits over the stand’s arm, and cable ties through the holes on each side hold it in place. The channel has two levels because a small section of screw thread protrudes from the bottom of the arm. I mentioned that detail, and the agent carved out enough space to avoid it. Thoughtful.
Here it is installed. The plate is a little thin and flexes, but otherwise the fit is perfect.
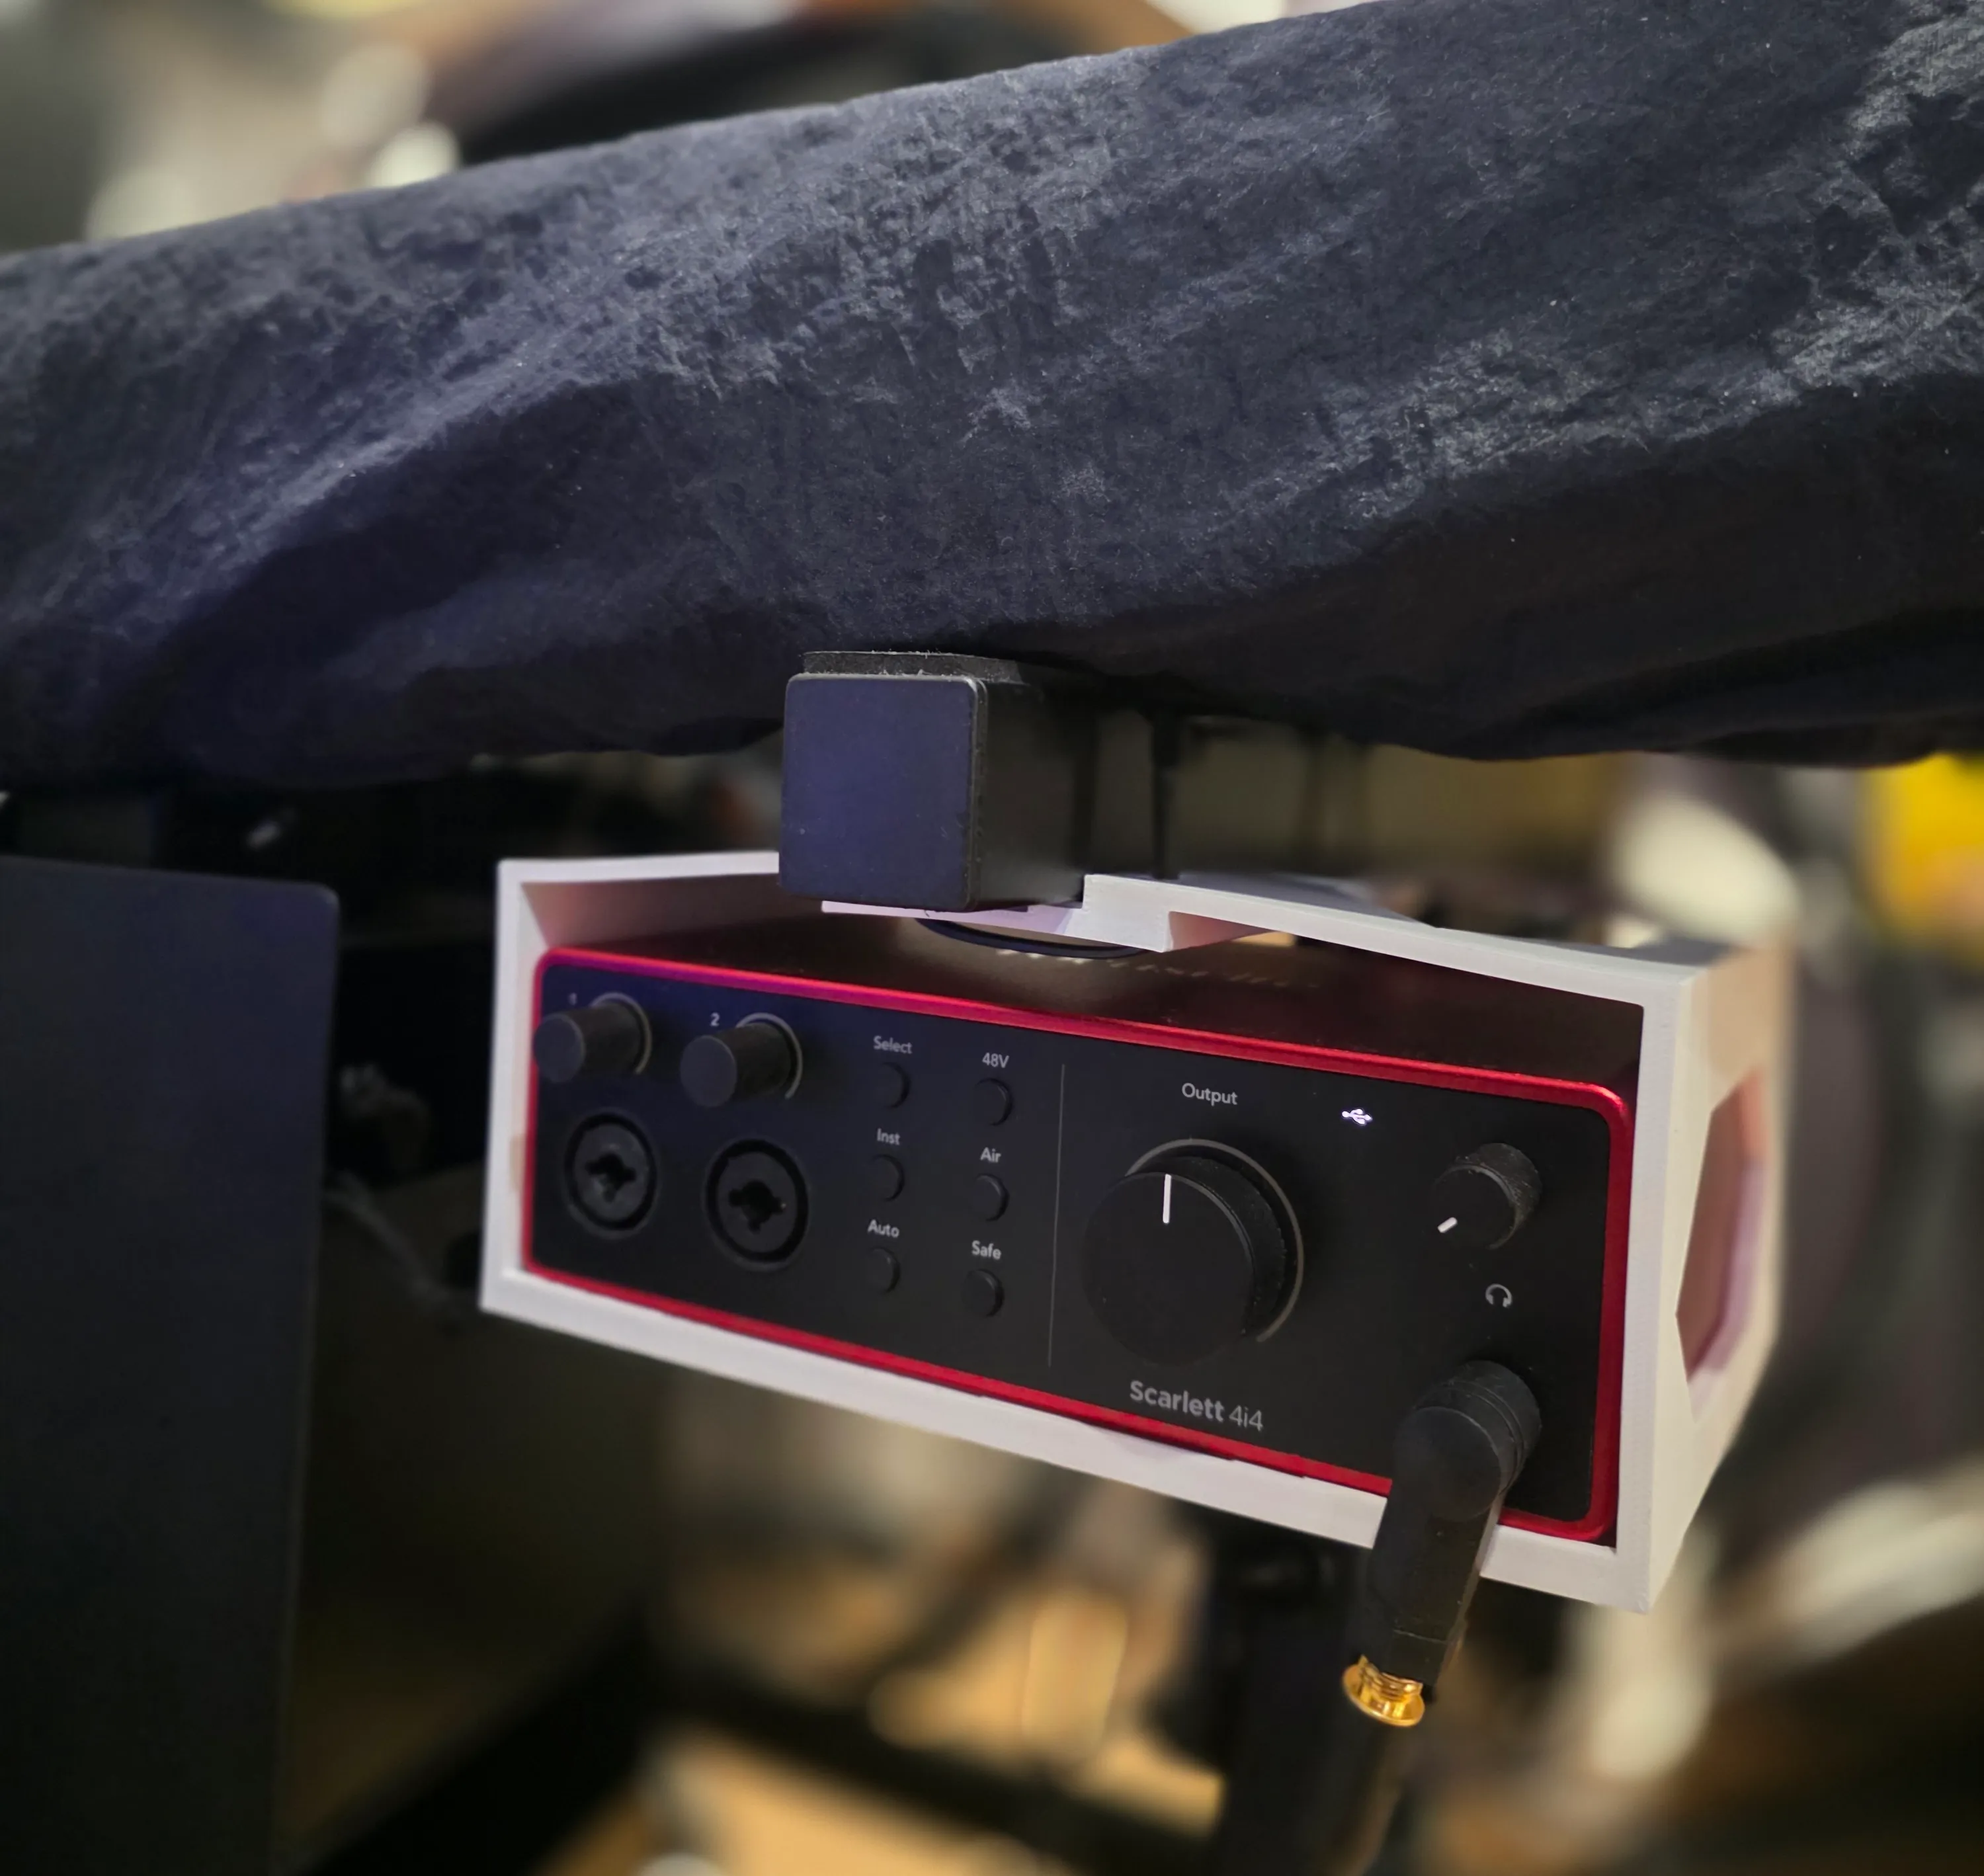
The installed audio interface. It fits like it was made for the stand—which it was.
There was also unused space on the stand’s other arm. I had no particular object in mind, but I asked the agent to reuse the same mounting section for a tray. OpenSCAD makes shapes easy to organize into modules and reuse in other models.
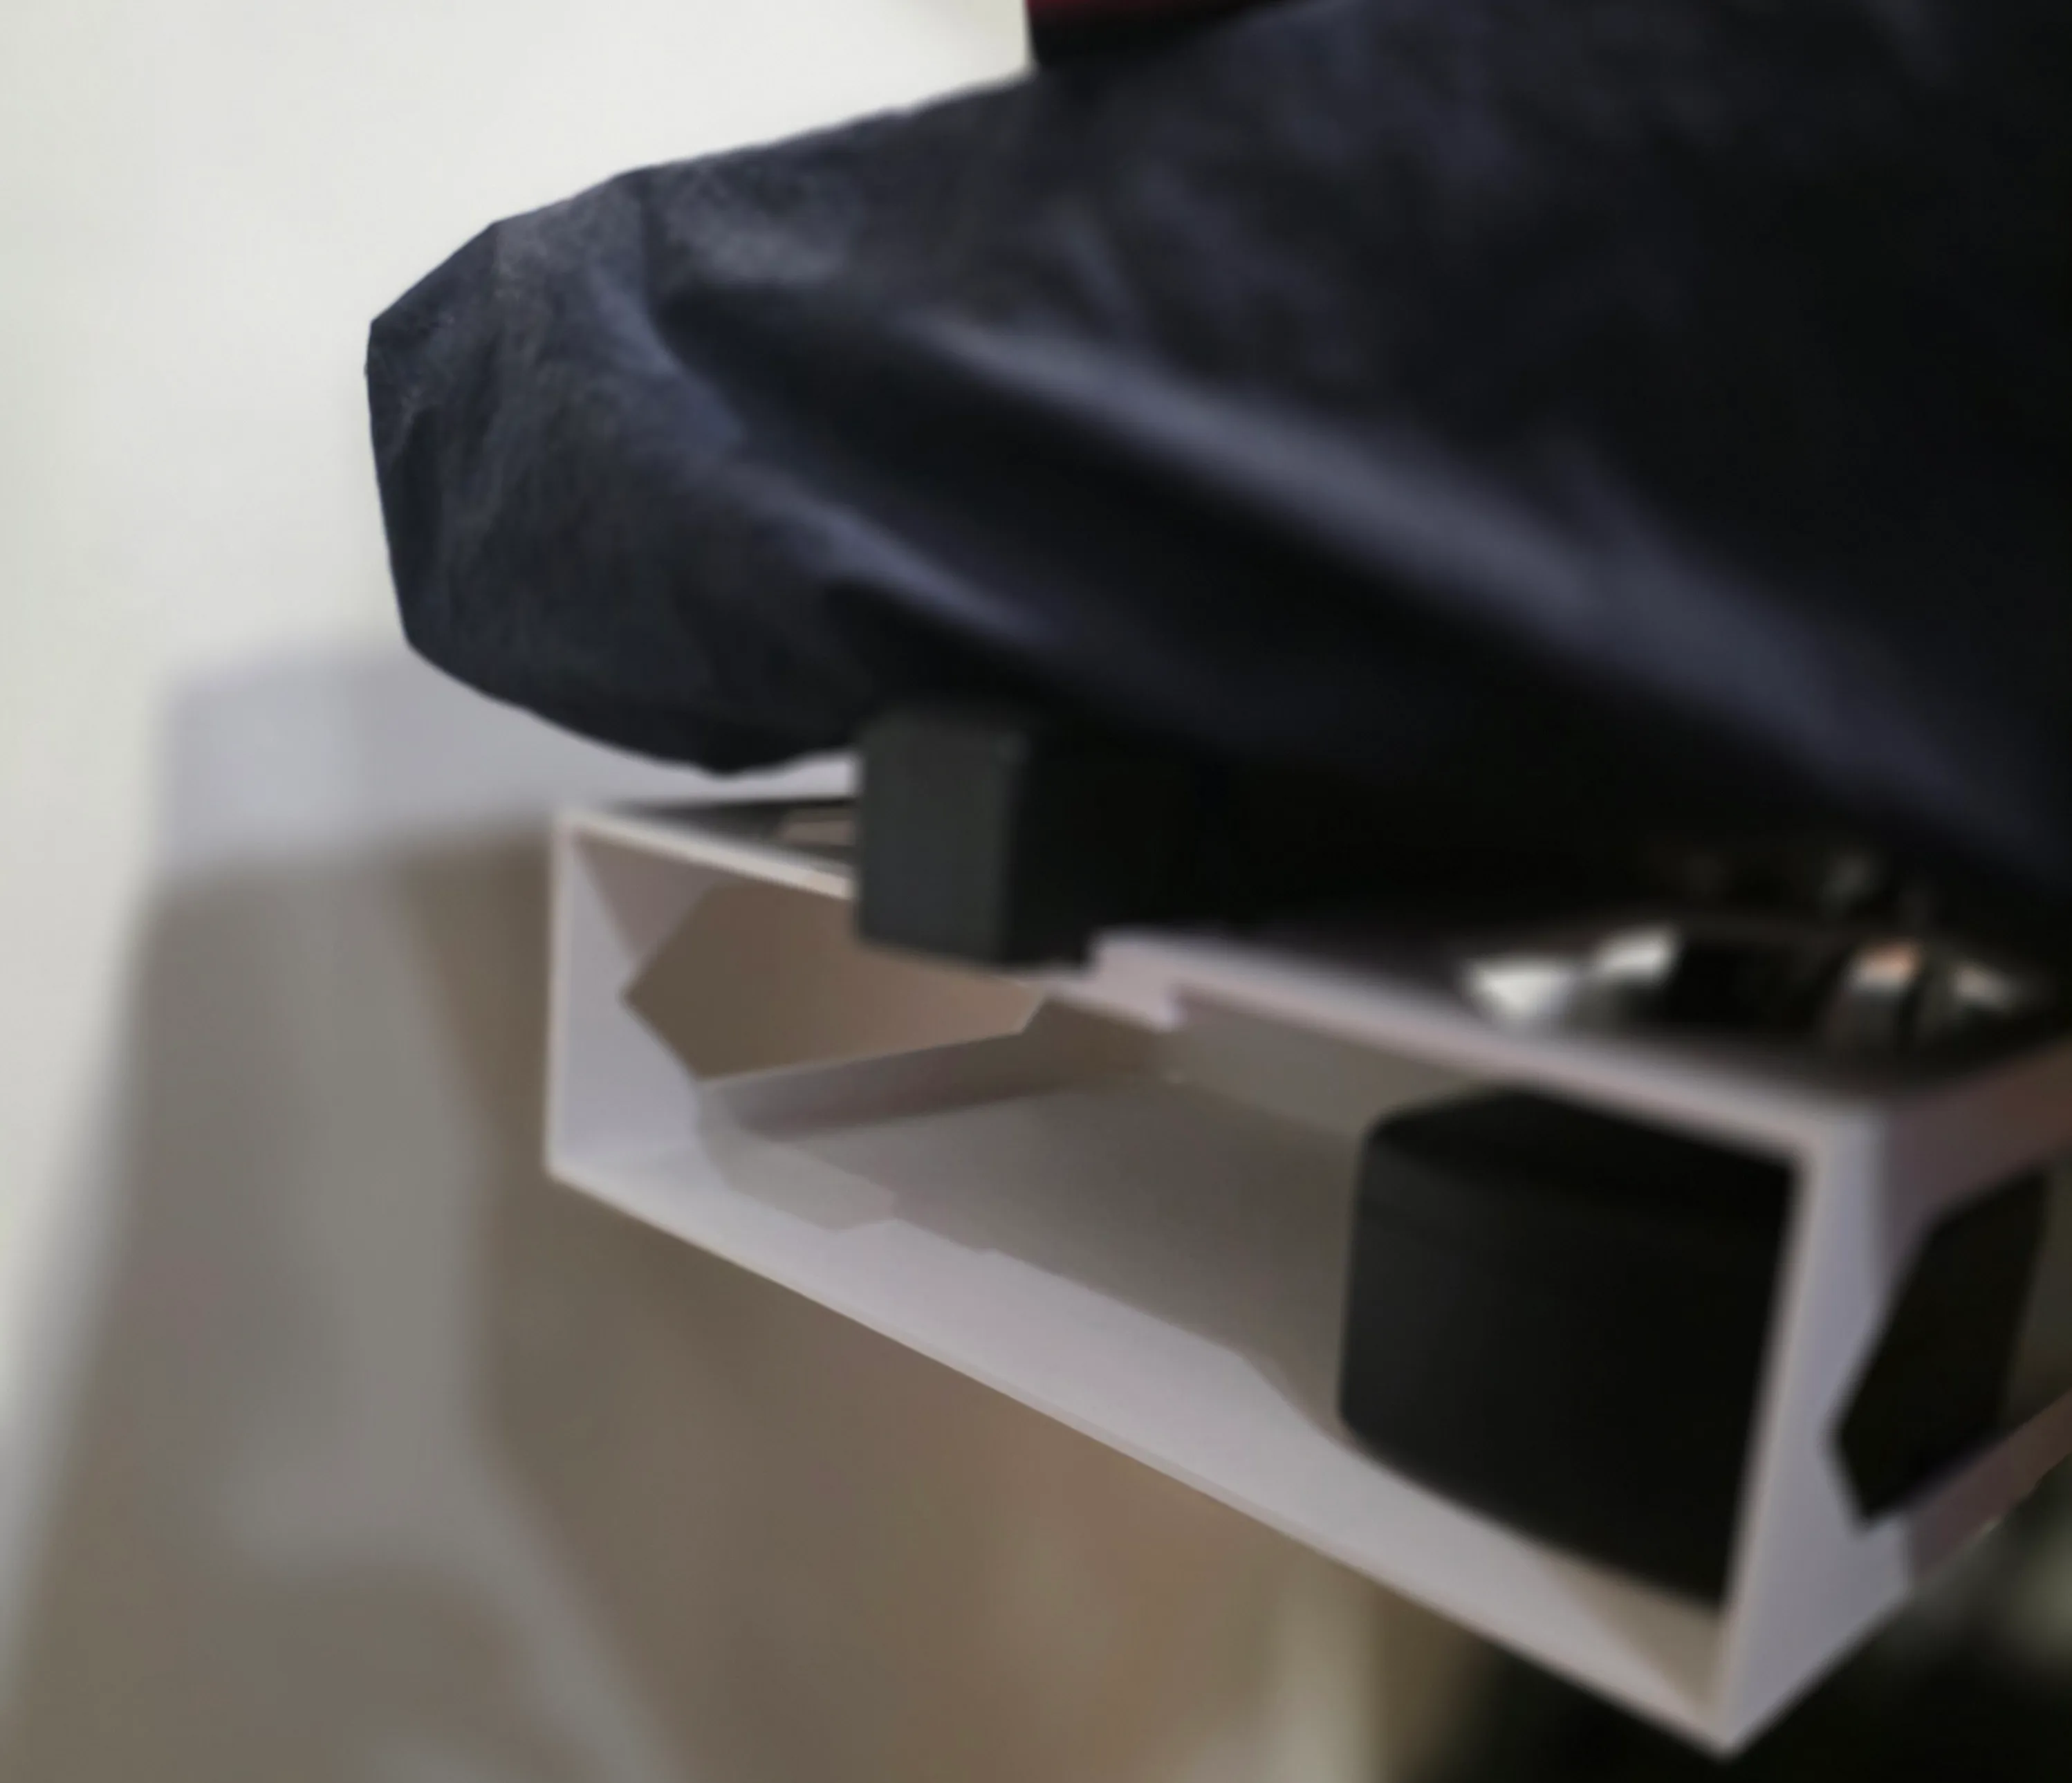
A tray using the same mounting system. It currently holds a wireless guitar unit.
Hanging holders for handheld vacuums
I use a MyStick Neo handheld vacuum for quick cleanup around my workspace. It has plenty of suction for its size, and I can recommend it. It does have one flaw: although compact, its unusual shape prevents it from standing upright. It has to lie down or lean against something.
Its size meant that leaving it wherever was never a major nuisance. Still, I wanted to take advantage of that compactness and hang it somewhere within easy reach.
Once again, no ready-made product fit the job, so I asked an AI agent to create a model. This time, however, asking directly for a holder did not produce what I had in mind. The vacuum’s unusual shape was difficult to communicate. I changed direction and first asked the agent to build a reference model of the vacuum itself.
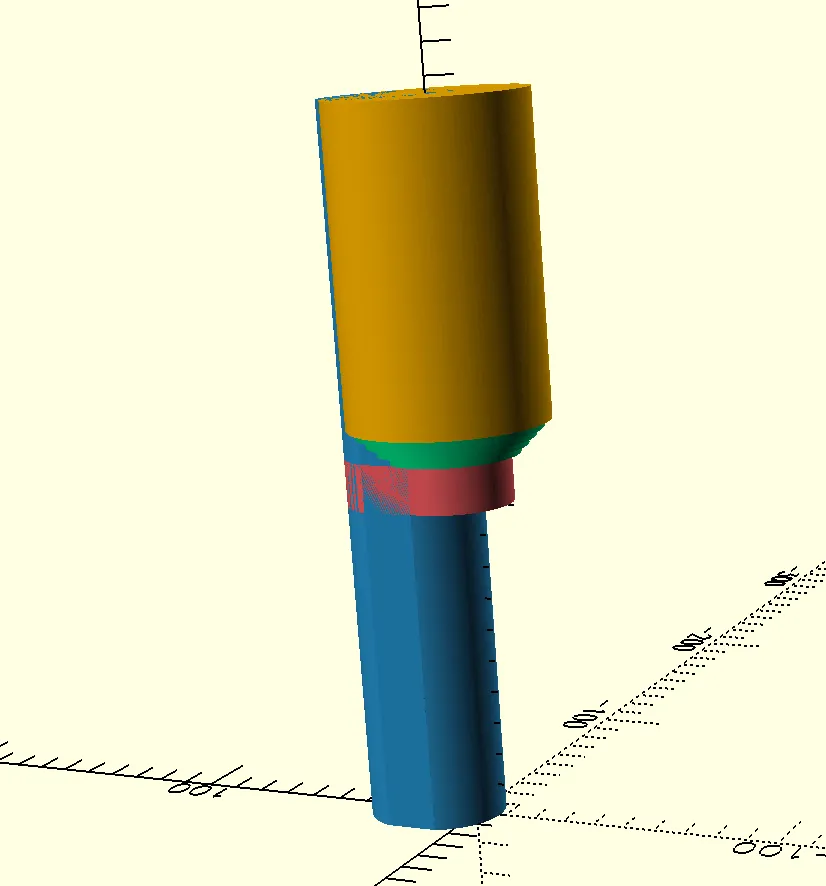
The MyStick Neo reference model, including the slight bulge on the back.
Using that reference, I worked with the agent to decide how the holder should support the vacuum and what shape it should take.
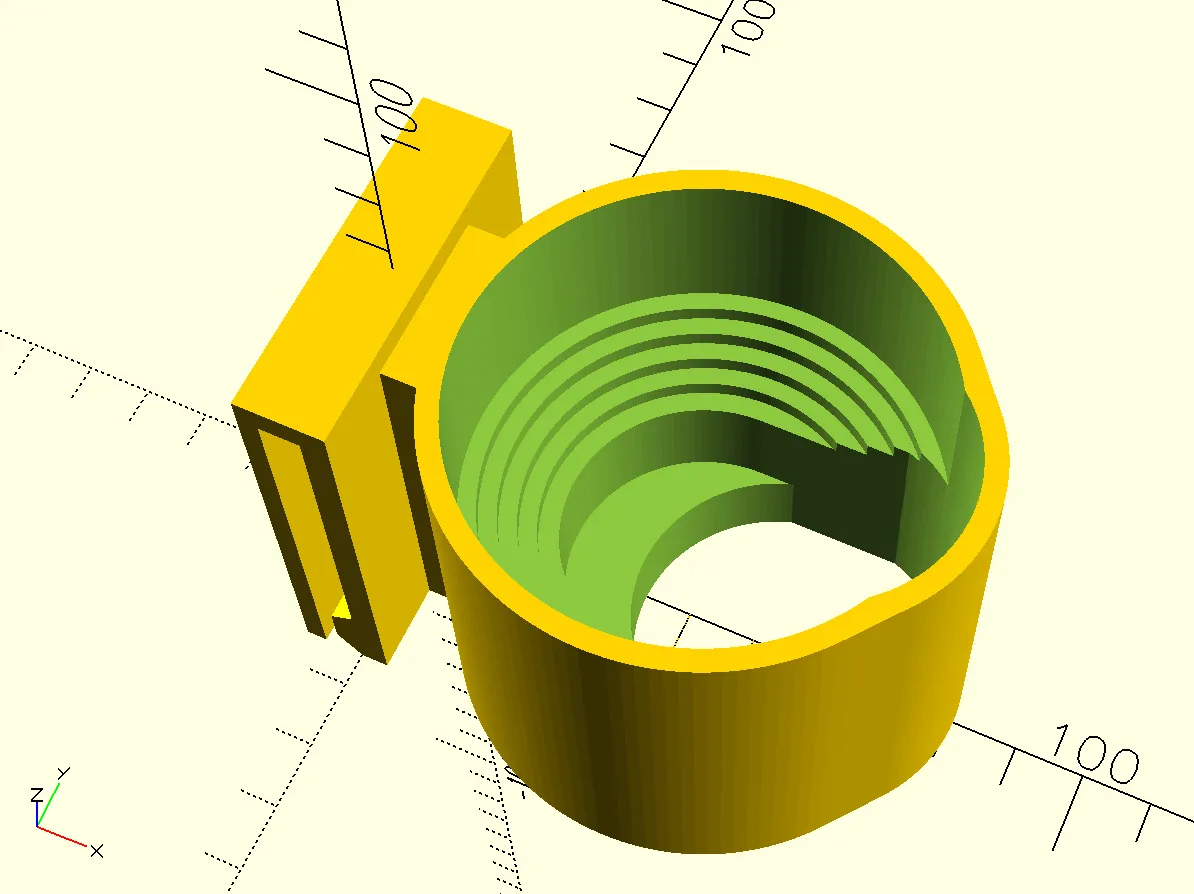
The vacuum holder. The handle passes through the opening, and the stepped section supports it.
The change in approach worked well. With a shared reference model, we could discuss the holder’s details and support points in concrete terms.
Here is the finished holder, hanging from the side of an IKEA cart.
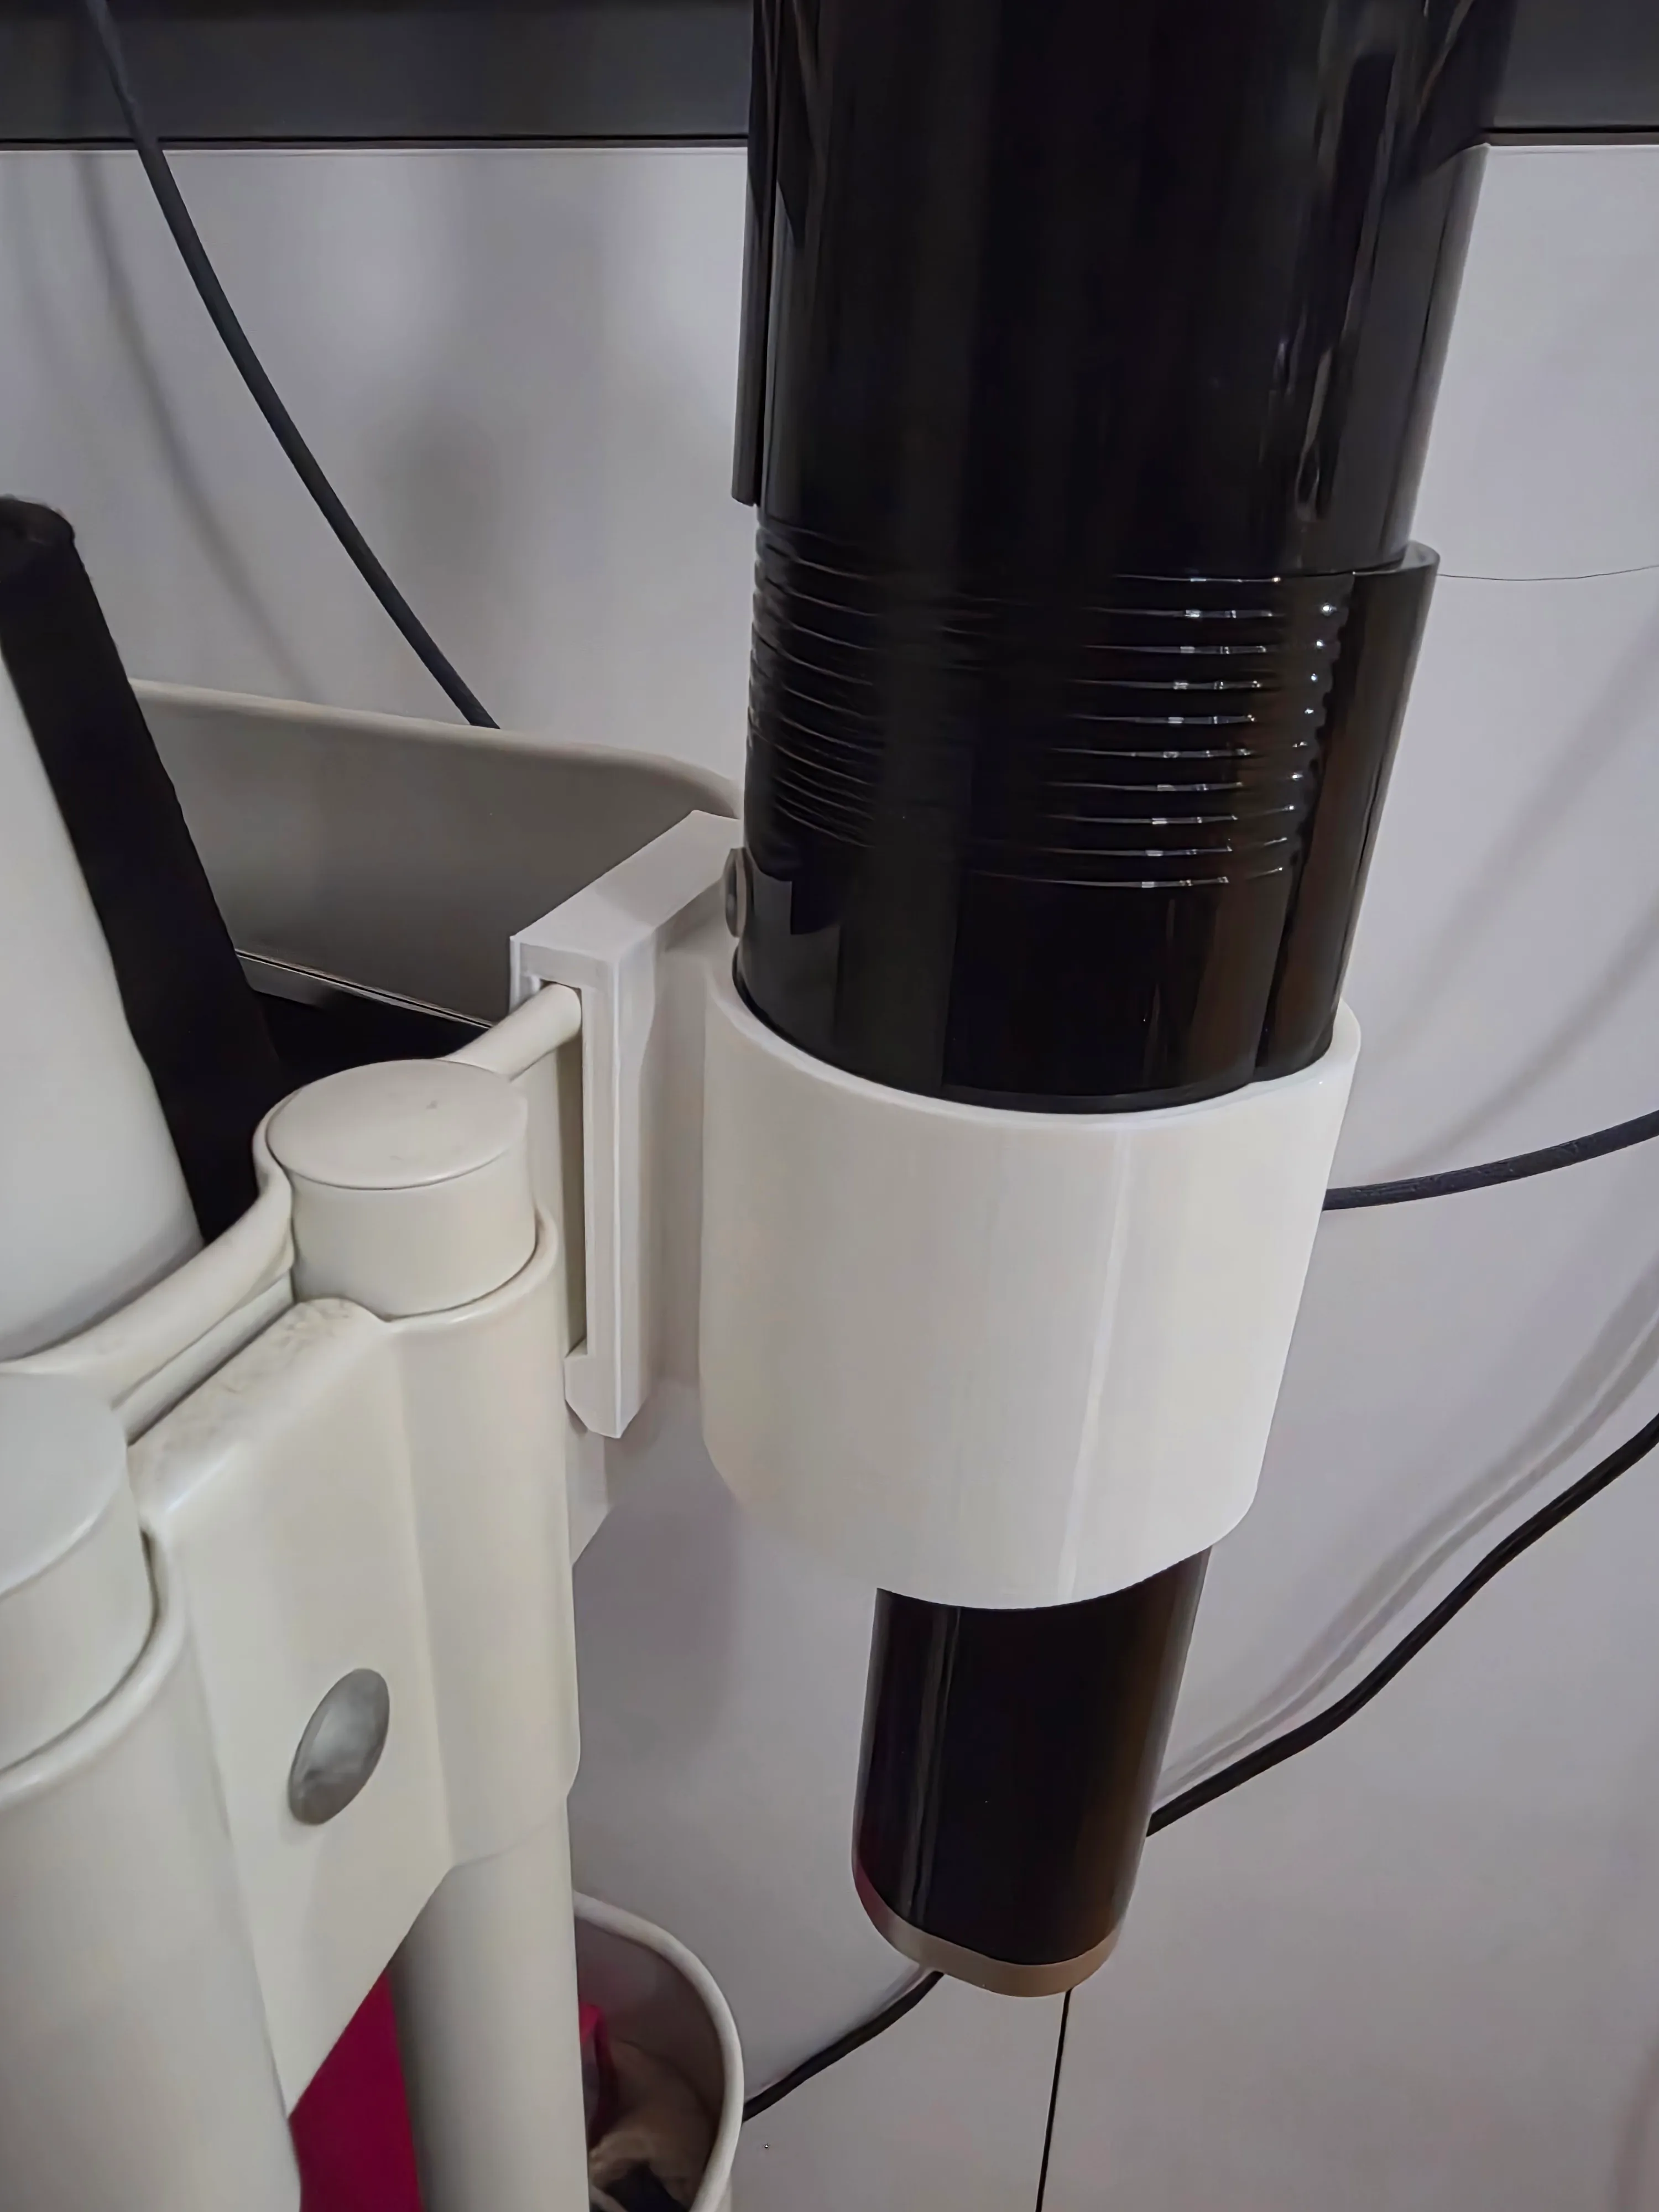
The vacuum holder hanging from the side of an IKEA cart.
I have a second vacuum, so I asked the agent to make another model with a different mounting system.
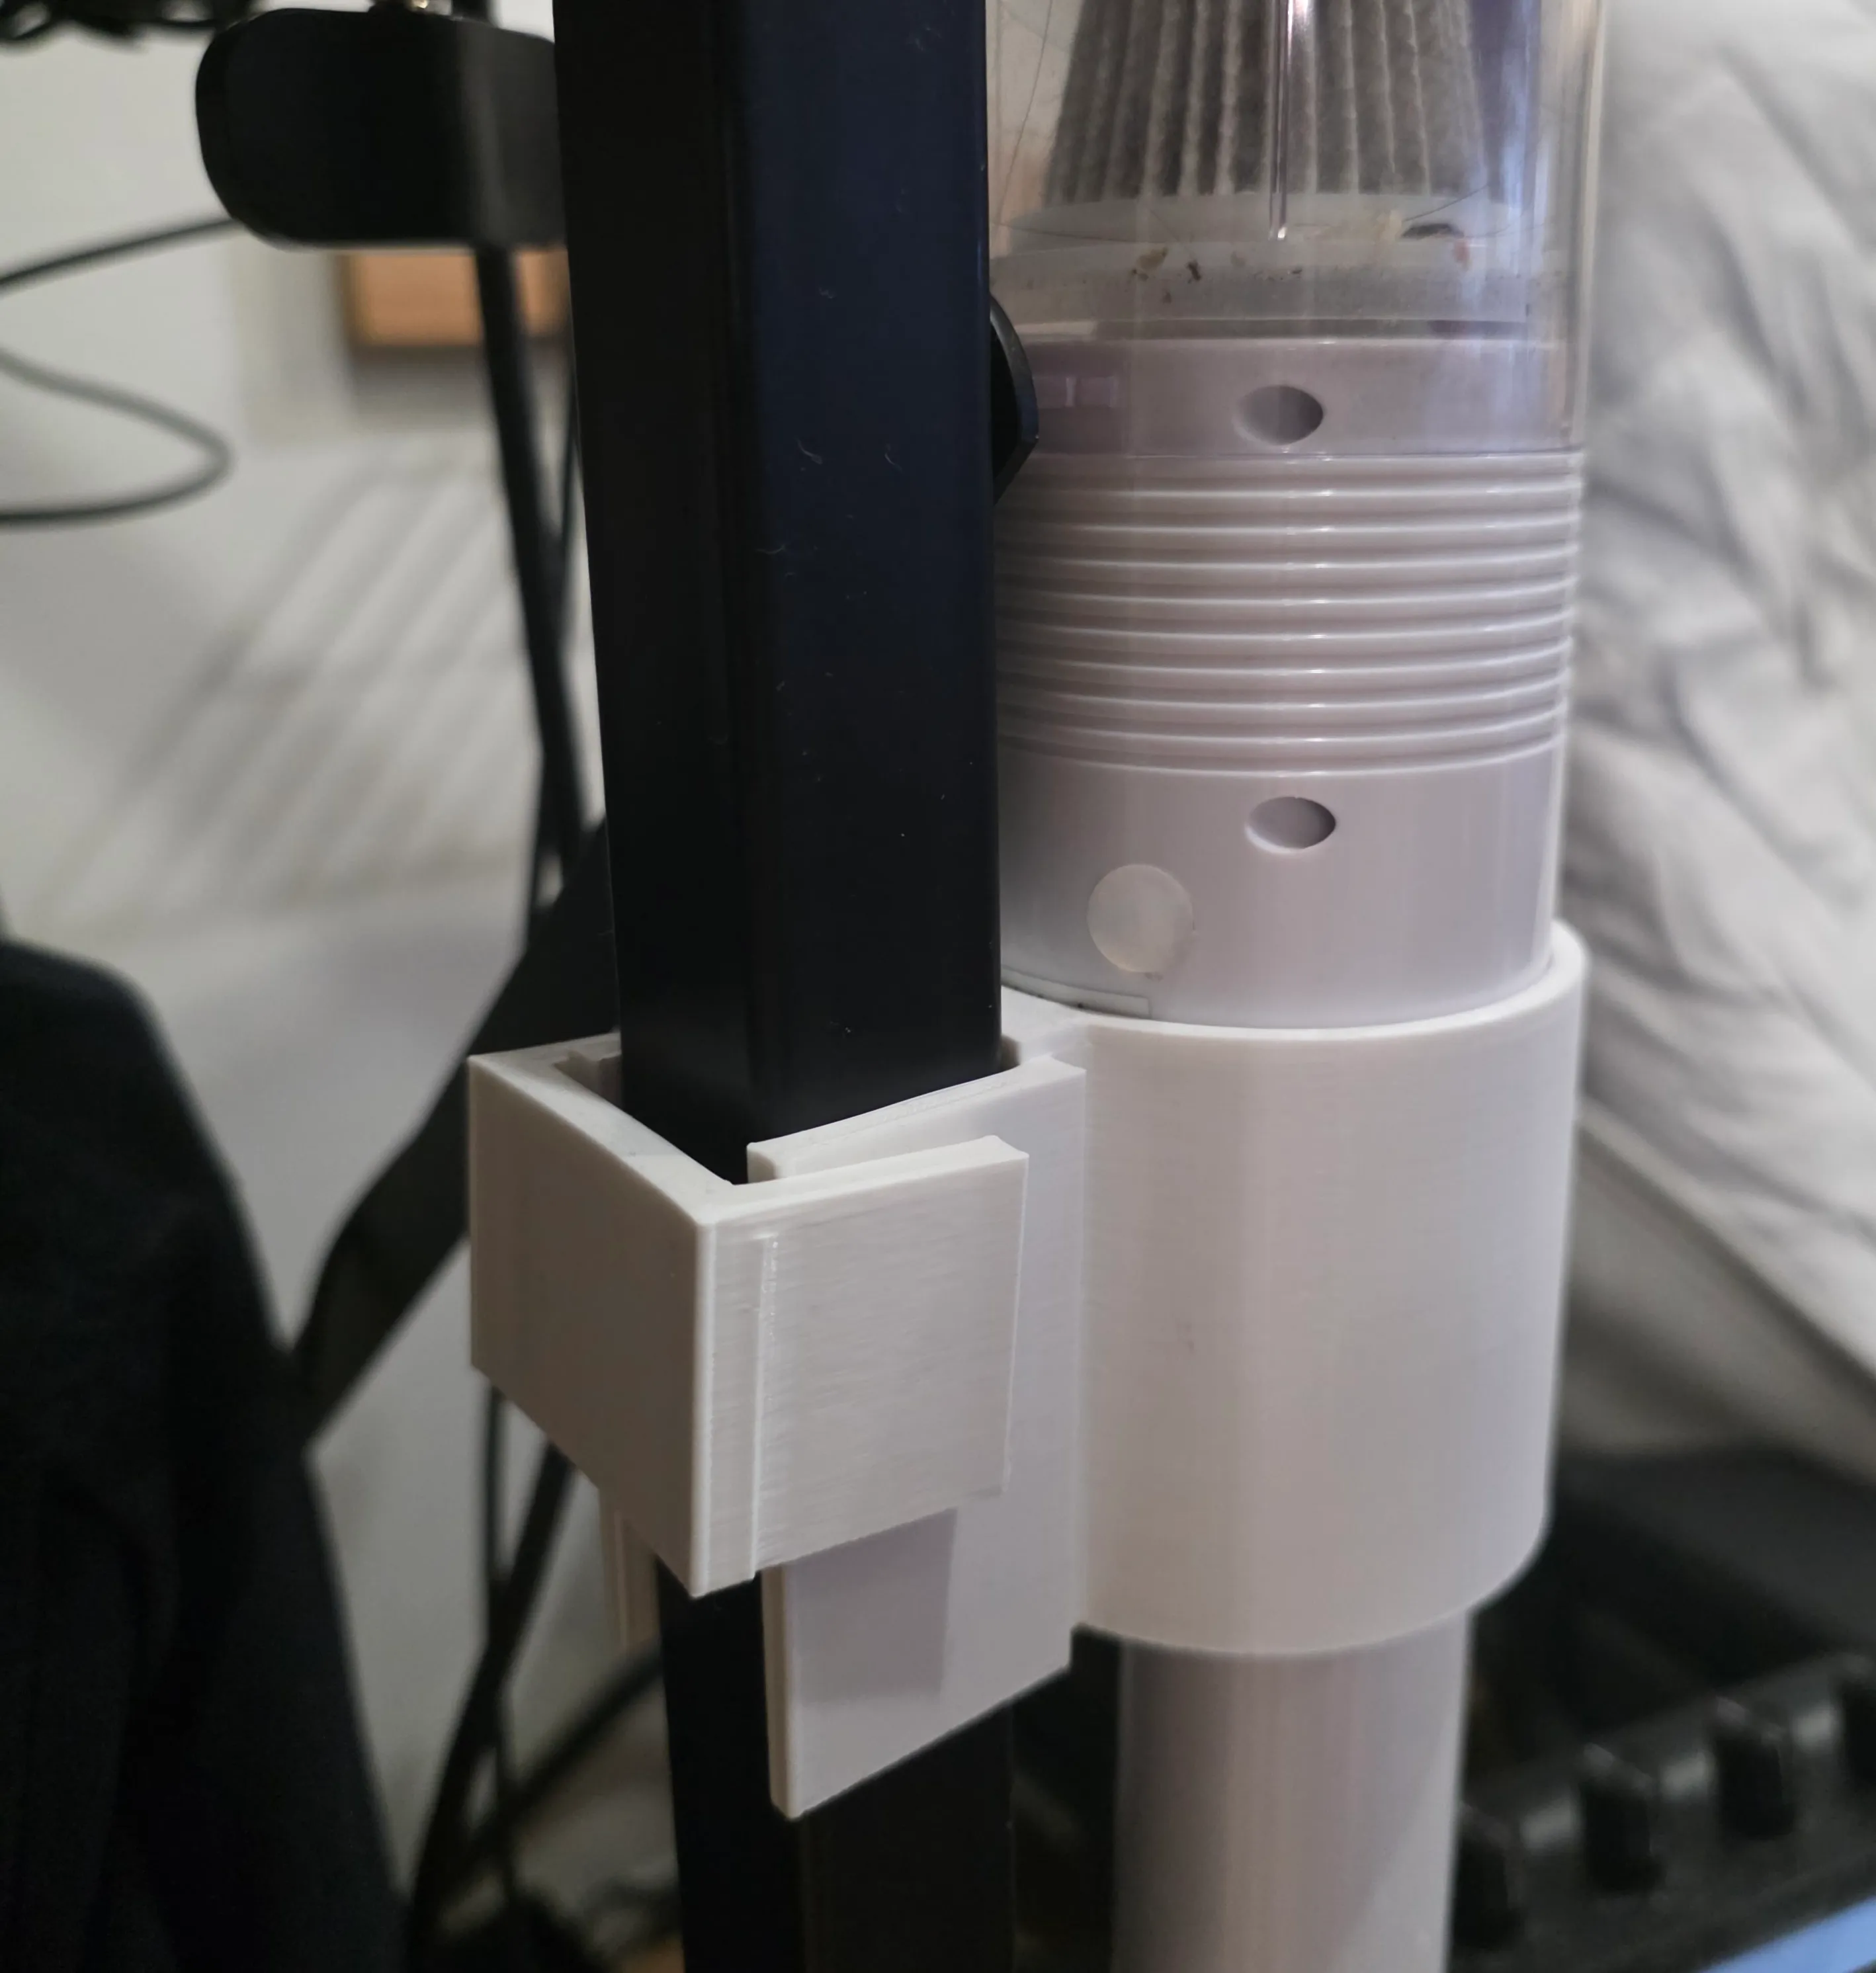
This one clips onto a shelf leg from the side, with a key fitted over it from above. My printer's accuracy is not great, so the grip is a little weak; I plan to improve it.
AI connected to the physical world
I tell an AI agent what I want, it creates a 3D model, and I print it to make everyday life a little more convenient. Seeing AI produce something in the physical world instead of remaining confined to a screen felt entirely new.
Semiconductor prices keep climbing at a ridiculous pace, but a capable 3D printer now costs only a few hundred dollars. Instead of buying a DGX Spark, perhaps buy a 3D printer for a fraction of the price and have some fun with that.